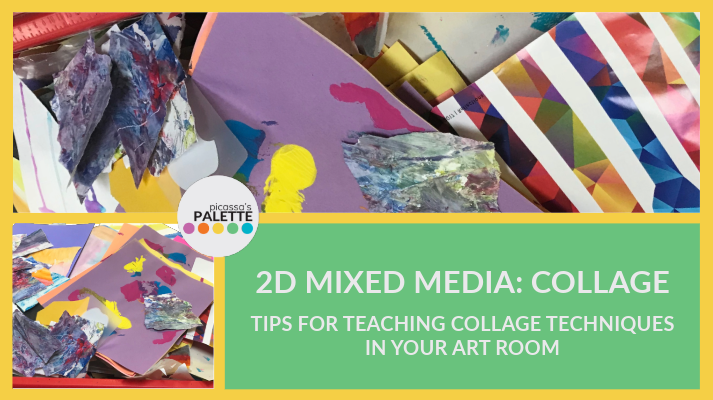
My Tips and Techniques for 2D Mixed Media
Collage Projects in the Art Room
MIXED MEDIA- WHAT IS IT?
When I think of Mixed Media, I basically consider it a catch-all for anything that doesn’t really fit into the traditional art genres.
But like… how do I teach it?
MY GUIDING FORMULA FOR TEACHING ABSTRACT ART IN THE ART ROOM
When teaching ABSTRACT ART, specifically Mixed Media in this case, I like to make the project “juicy”. So, I pick a THEME, combine it with a TECHNIQUE, then sprinkle in an art CONCEPT. Here’s a more in-depth explanation on the formula.
FORMULA CUSTOMIZED FOR 2D MIXED MEDIA PROJECTS
Depending on the style of Abstract Art I’m teaching, I modify the formula to make it more appropriate for the project.
So, I’ve taken this formula, and modified it for 2D Mixed Media Projects below- in this case, specifically for 2D Mixed Media Collage.
HOW I CUSTOMIZE IT FOR COLLAGE PROJECTS USING 2D MIXED MEDIA
When we do 2D Mixed Media Collage Projects in my art class, here’s HOW I make the formula more specific:
THE THEME = A VERB
I chose words which would help my artists envision an action.
THE TECHNIQUE = COLLAGE
Collage… I teach them what it is, where it came from and how to do it. More on that below.
THE CONCEPT = PRINCIPLES, BUT…
Major design concepts are applied to the process. But first, a word about Texture as one of the Elements…
-TEXTURE VS. TEXTURE-
I’m just going to come clean about this right now… near the top of my biggest teacher cringe list is any instance when art people discuss art with kids and cite ‘texture’, without distinguishing between visual and actual texture. And projects using 2D Collage materials frequently enables these offenders! LOL
Honestly, I find it to be so confusing for them to later sort out the difference.
But, working with Mixed Media in the art classroom gives students the opportunity to unpack that common misconception, and gives their teacher another chance to explain the differences in the two types of Texture – allowing them to identify correct Principles, utilizing accurate terms in action like repetition, composition, variety, etc.
So while using tactile materials within the product, the young artist physically experiences actual texture, and can begin to apply those terms and design concepts to enhance the visual texture in their work.
Here are all my resources on teaching TEXTURE.
MY BEST TIPS FOR TEACHING COLLAGE TECHNIQUES…
Here are some of my favorite tips for teaching collage and its techniques:
COLLAGE TECHNIQUE: LAYERING
USING LAYERING TO CREATE DEPTH AND DIMENSION
One way to give the illusion of depth and dimension is to use layering. Overlapping is one technique of layering that you’ll want to include within the lesson.
When students overlap shapes they create depth and dimension in their 2D work, making it seem more complete and improving its overall end result.
First, maybe give a quick refresher on the Element of Space, teaching the idea of depth by covering Foreground, Middle ground and Background.
Then, have students pre-plan their composition. I like to have them brainstorm via thumbnail sketches on scrap paper or in sketchbooks.
WHAT TO USE AS THE BASE/CANVAS FOR COLLAGE
Think outside the limits of a regularly shaped size of paper.
But, a quick tip for new teachers – Restrict the size of it to the dimensions that you can actually store, and consider the size that they can easily transport home.
Also, it’s always good to have them write their names (and teacher name or class code) on the back of the base piece before they even begin.
A few ideas on what to use for the base of their Collage project:
Some Durable and Strong Base Ideas (Also good for 3D Collage Projects):
- Copy Paper Box Lids and Sides
- Paper Plates
- Repurposed Food/Cereal Boxes
LAYERING FOR THE BACKGROUND
So, which MATERIAL is best to use for the background?
- Junk Mail
- Store or Supply Catalogues
- Recycled Magazine Pages
- Project Scraps
…Really anything they have to space to allow for on their project base.
MORE LAYERING MATERIALS
The same materials used for the background can be used to build the middle ground and foreground.
In fact, there are so many possibilities that I came up with something I now consider an Art Room STAPLE:
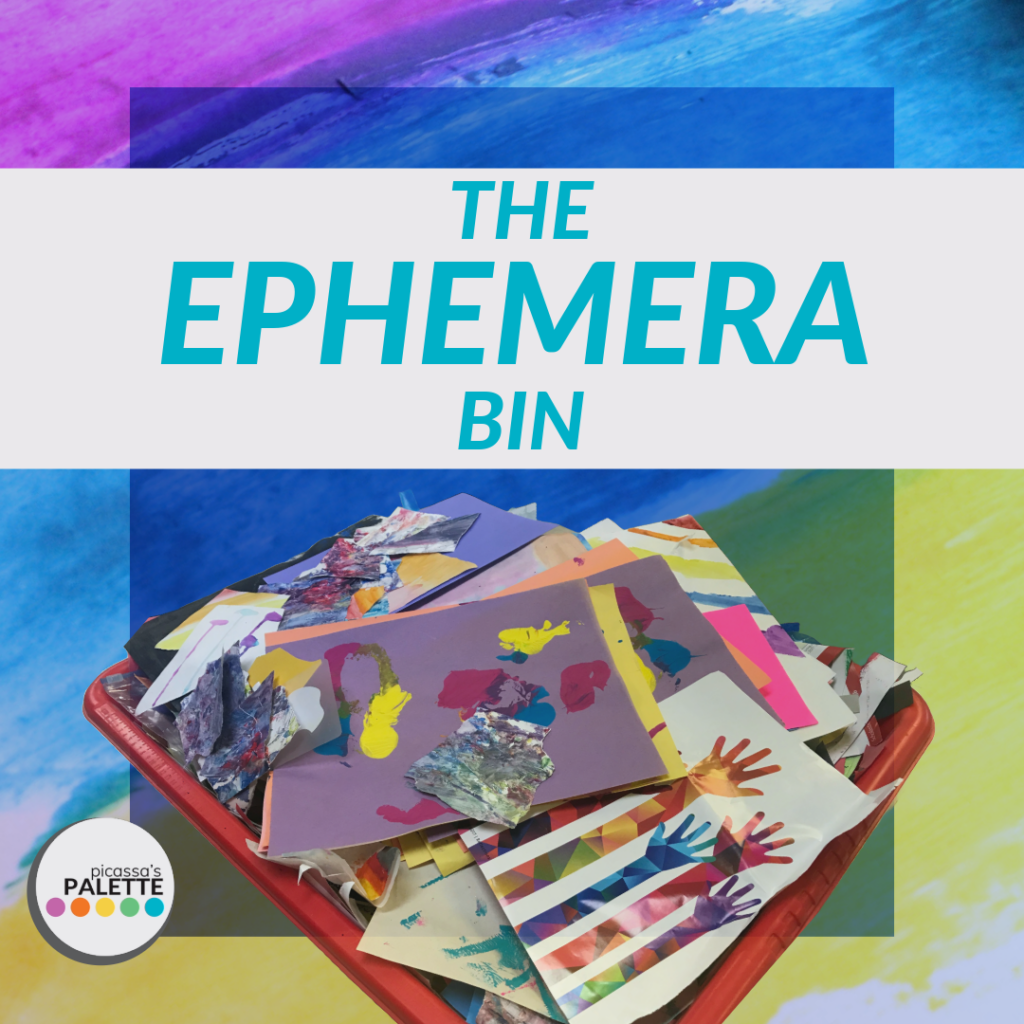
…THE EPHEMERA BIN!
**THIS SHOULD BE IN EVERY ART TEACHER’S CLASSROOOM**
What is it? The Ephemera Bin is just a fancy way to refer to a box that holds scraps. You can read all about how I use it and what I put in it in this post.
COLLAGE TECHNIQUES: ATTACHMENT
Ok, so now you teach how to attach it.
THE best Product for Attaching Flat Scrap Pieces is actually…
Gluestick.
But not just any old gluestick.
We’ve all had the experience of scraps raining down onto the floor from a once-finished art project… Sometimes, (well, oftentimes) this even comes with tears- especially if you’re an Elementary-Level Art Teacher!
So you must NEVER and I mean NEVER EVER, use the glue stick that’s called SCHOOL GLUE. Seriously, it’s the worst and it doesn’t work for $$$$$!
Oh, and… you’re gonna have to teach this technique because this upcoming generation is not one which spent hours cutting out celeb photos, adding them to poster-board and taping it to the back of their bedroom door. (Oddly specific. Just me?)
Here’s how…
USING GLUESTICK
- Use a ‘placemat’- it’s just a spare sheet of used printer paper, repurposed as a table cover to reduce the stickiness on (non-adherable) surfaces
- Think, “back to front”… Strongly suggest using the Element of Art of Space to pre-plan the composition. Give a quick refresher on depth and dimension, and teach them to go from Background, to Middle-ground and end up on Foreground.
- Apply glue to the small piece, rather than aiming small pieces onto large, probably misshapen, oilslicks of glue.
- Use the glue stick around the edges, overshooting the glue streaks onto the placemat paper, from outside to inside. A dab of glue in the center of it will not work out… ever seen a kiddo hold up their art and all of the little pieces fall off as soon as it goes vertical? Yeah, we want to avoid that! Plus, the edges will catch on other papers or even just get bent from lack of secure attachment to the layers below.
-Chunky is NOT good. Shiny is perfect!
-Lastly, actually apply pressure after adding it to the artwork. If hands get sticky, use hand sanitizer, baby wipes or even just a damp paper towel… kids are very afraid of getting their fingers dirty or uncomfortable because they’re not used to making a mess. They’re more used to swiping a flat, glossy screen on a phone or tablet, so my point is to be prepared for some resistance and have the solution readily available.
COLLAGE TECHNIQUES: COMBINING WET VS DRY
BEST TIPS FOR COMBINING WET VS. DRY MEDIUM
Another thing to cover with your students, if you want to keep your equipment waste to a minimum, is the use of Wet and Dry Media, along with some guidelines for how to combine them in your art room.
For instance, I tell my students to consider how they might need to plan ahead for wet materials to dry as much as possible before adding more dry materials. Let’s face it, no one loves glue-sealed markers, and everyone hates scissors that don’t cut because of glue film on the blades!
When I did the Altered Book thing with my Middle Schoolers, I just had them keep the page spread open as they slid it directly onto the drying rack.
You could probably use (and reuse) page-sized parchment paper in between the pages if you need to close the book before it’s dry. (Just don’t stack ’em, teacher!)
MAKE IT YOUR OWN!
Now that you’re aware of my favorite ways to teach Collage Techniques with 2D Mixed Media, you can do what us Art Teachers do best… put our own spin on it and put it to use!
If you’d rather have ready-made 2D Mixed Media Project ideas and instructions – keep an eye out in the store for upcoming releases…
And, if you’d like to be among the first to find out about the latest and greatest (greatest only because I’m forever growing and improving with each creation!) Art Education Resources, subscribe to Picassa’s Palette email list and follow me on social media, too. 🙂